Tasks Node
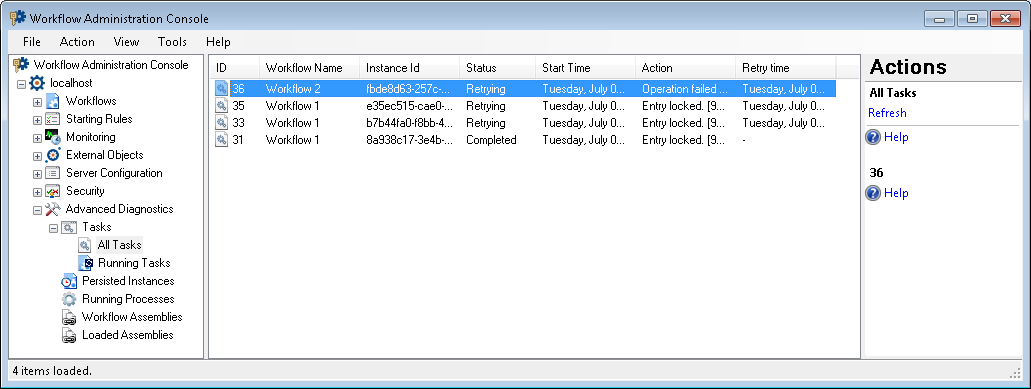
This node, under Advanced Diagnostics in the Workflow Administration Console, shows tasks (activities that have the potential to be long-running) and their statuses. The node also displays the ID number of the task, the name of the workflow the task occurred in, the task's instance ID, its start time, its action (errors, warnings, or a temporary note about the progress of a task), and the time the task will retry (if the task's status is "Retrying").
Optionally, you can see the task's queue ID, provider, the ID of the workflow the task occurred in, and the ID of the activity the task was associated with. More information.
The tasks are divided between two nodes: All Tasks and Running Tasks. The Running Tasks node organizes all the tasks by workflow.
Note: Tasks will only appear in these nodes as long as they are running and up to 10 minutes after they have completed.
To view all tasks
- In the Workflow Administration Console's Console Pane, expand the Advanced Diagnostics node.
- Expand the Tasks node, and select All Tasks. The node will list all the tasks on the Workflow Server.
Tip: You can refresh this list to reflect recent changes by clicking the Refresh link below All Tasks in the Actions Pane. Alternatively, right-click the All Tasks node and select Refresh.
To view running tasks for a specific workflow
- In the Workflow Administration Console's Console Pane, expand the Advanced Diagnostics node.
- Expand the Tasks node, and select Running Tasks.
- Expand the Running Tasks node. The node will list all the workflows on the Workflow Server.
- In the Console Pane, select the workflow for which you want to see the running tasks.
Tip: You can refresh this list to reflect recent changes by clicking the Refresh link below Running Tasks in the Actions Pane. Alternatively, right-click the Running Tasks node and select Refresh.
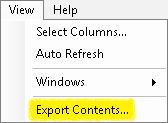
To export the contents of this node in a .csv, .xml, or .txt file
- Select the node in the Console Pane.
- Select View from the main menu.
- Click
 Export Contents.
 - In the Export data dialog box, name the exported file.
- Select CSV File, XML File, or Tab Delimited Text File from the drop-down menu.
- Click Save.